

Most Windows users need a quick way to save what’s on their screen, whether it’s an image, text, or something else. Microsoft includes several built-in tools to make this easy. In this guide, I’ll walk you through the different ways to take a screenshot on Windows. These methods work on both desktops and laptops, so you can choose the one that fits your needs.
Four Methods to Capture Screenshots on Windows
Here are four different methods that you can use. Choose the one that best fits your needs and the content you want to capture.
Method 1: Windows Key + Print Screen (Full Screen Capture)

This is the quickest way to capture your entire screen and automatically save it to your computer. To do so:
- Locate the Print Screen key (usually labeled “PrtScr” or “PrtSc”) in the upper right corner of your keyboard
- Press and hold the Windows key and the Print Screen key simultaneously
- Your screenshot will automatically save to the Screenshots folder within your Pictures directory.
Availability: It works perfectly on Windows 8, 10, and 11. However, on Windows 7, it captures to the clipboard but doesn’t auto-save; you’ll need to paste it into an image editor.
Note: Some keyboards, especially on laptops, did not have the print button, so this method might not be suitable for you.
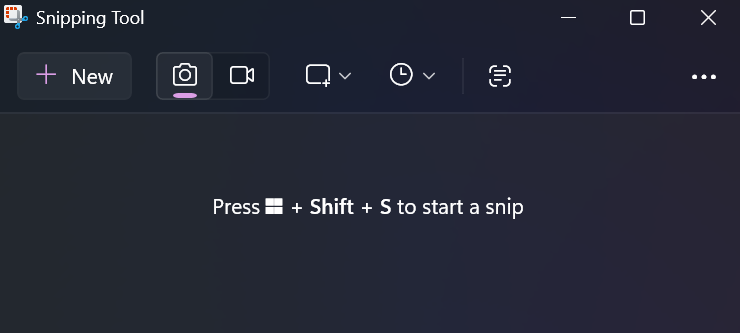
Method 2: Snipping Tool (Selective Area Capture)
The Snipping Tool allows you to capture a specific portion of your screen rather than the entire display. But the con is that you need to open the snipping tool every time, which feels frustrating.
Steps:
- Open the Windows Search bar (bottom left corner)
- Type “Snipping Tool” and select it from the results
- Click New to start a new capture
- Click and drag to select the rectangular area you want to capture
- Click Save Snip and choose your file format (JPG, PNG, or GIF)
Availability: It works perfectly on Windows 7, 8, 10, and 11
Method 3: Windows Key + Shift + S
Modern versions of Windows include the Snip & Sketch feature, which offers flexible selection options and instant clipboard access. Mostly, I use this method because I can capture the entire screen and a specific portion. It is suitable for most people.
Steps:
- Press Windows key + Shift + S on your keyboard
- Select your preferred snipping mode:
- Rectangular Snip (select a rectangular area)
- Freeform Snip (draw any shape)
- Window Snip (capture a specific window)
- Full-Screen Snip (capture entire screen)
- Click and drag to select your desired area
- The screenshot automatically copies to your clipboard for easy pasting into Paint, Photoshop, or other editing software
Availability: It’s working well on Windows 10 and 11. But Windows 7 and 8 users can use the Snipping Tool instead.
Note: On modern versions of Windows 11, this method copies the image to your clipboard and automatically saves it to your Pictures > Screenshots folder, giving you the best of both worlds.
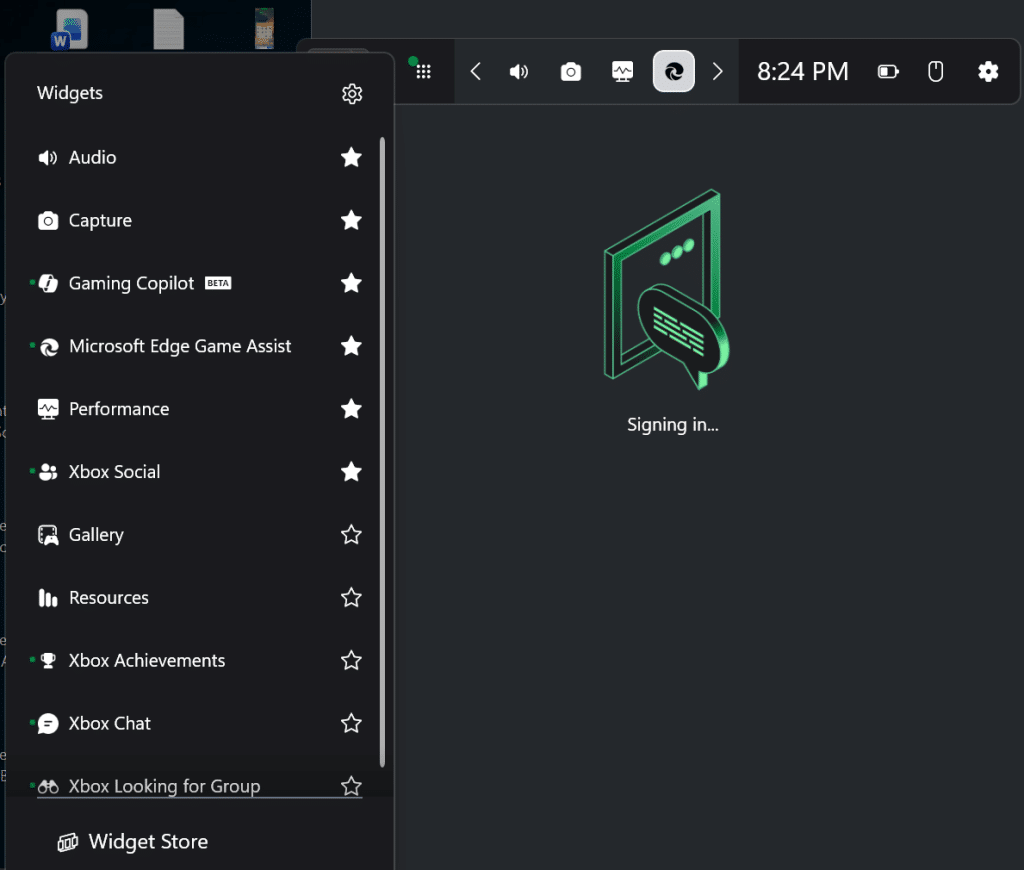
Method 4: Windows Key + G (Game Bar for Gaming Captures)
If you’re playing games (especially on a full-screen mode like GTA Vice City) or using full-screen applications, the Game Bar provides a convenient screenshot option. You do not need to minimize the game or select a specific area like the snipping tool.
Steps:
- Press Windows key + G to open the Game Bar overlay
- Click the camera icon to capture a screenshot
- Your screenshot will save to the Videos > Captures folder
Availability: It only works on Windows 10 and 11.
Quick Comparison Table
Here is the quick comparison of all the methods with all Windows versions.
| Method | Best For | Windows 7 | Windows 8 | Windows 10 | Windows 11 |
|---|---|---|---|---|---|
| Win + PrtScr | Full screen auto-save | ✗ (clipboard) | ✓ | ✓ | ✓ |
| Snipping Tool | Selective capture | ✓ | ✓ | ✓ | ✓ |
| Win + Shift + S | Flexible selection | ✗ | ✗ | ✓ | ✓ |
| Win + G | Gaming captures | ✗ | ✗ | ✓ | ✓ |
Conclusion
Taking screenshots on Windows is straightforward with multiple built-in options. Regardless of your Windows version, you have reliable methods to capture and save your screen content without needing third-party software. Select the method that works best for your specific use case, and you’ll be able to save important information from your screen in seconds.